Cyberpanel 1.6
After introducing the concepts of Web Server Software & hosting control panel, we are moving on to hands on and build our very first web server using an open source software, OpenLiteSpeech, and control panel, CyberPanel. The first thing to get started is to get a server. Here I purchase a CentOS server over Vultr. Vultr is handy because I can get a server on demand and the rate is very good. Once I get the server up and running, let’s see how I can quickly deploy the web server using CyberPanel. Cyberpanel website has prepared a document teaching the installation. After checking the requirements, my vultr CentOS server ($5 plan) is ready to go. Remember, for your first time to login as a root user, change password using passwd. Then, enter the following commands to start installation
wget http://cyberpanel.net/install.tar.gz
tar zxf install.tar.gz
cd install
chmod +x install.py
python install.py [IP Address]
wget lets you to download the installation image from cyberpanel.net.
After decompress tar zxf, use python to run the install script.
The installation then will start and complete in about 10 mins.
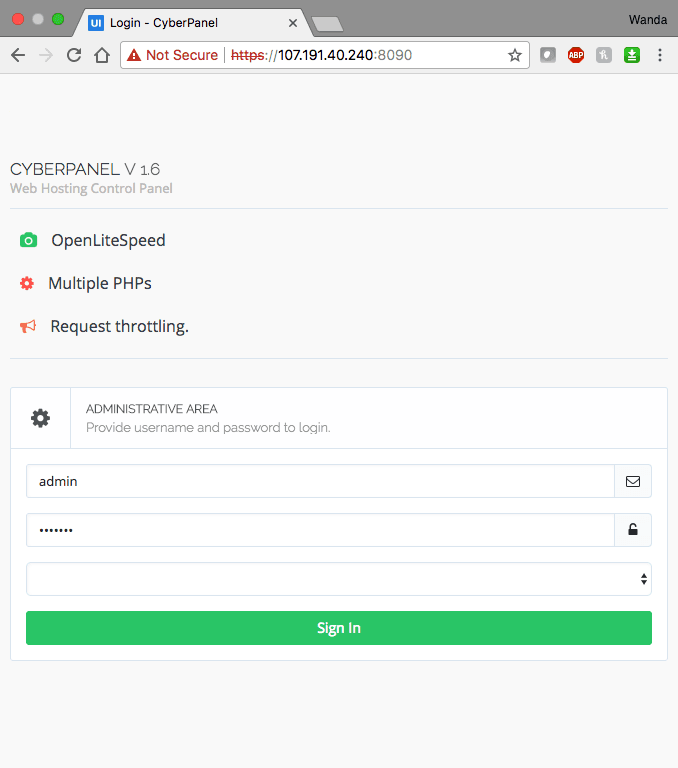
After successfully installed, CyberPanel is available for access on port 8090.
Login page will be like below.( currently support 6 languages including English, Chinese and Japanese)
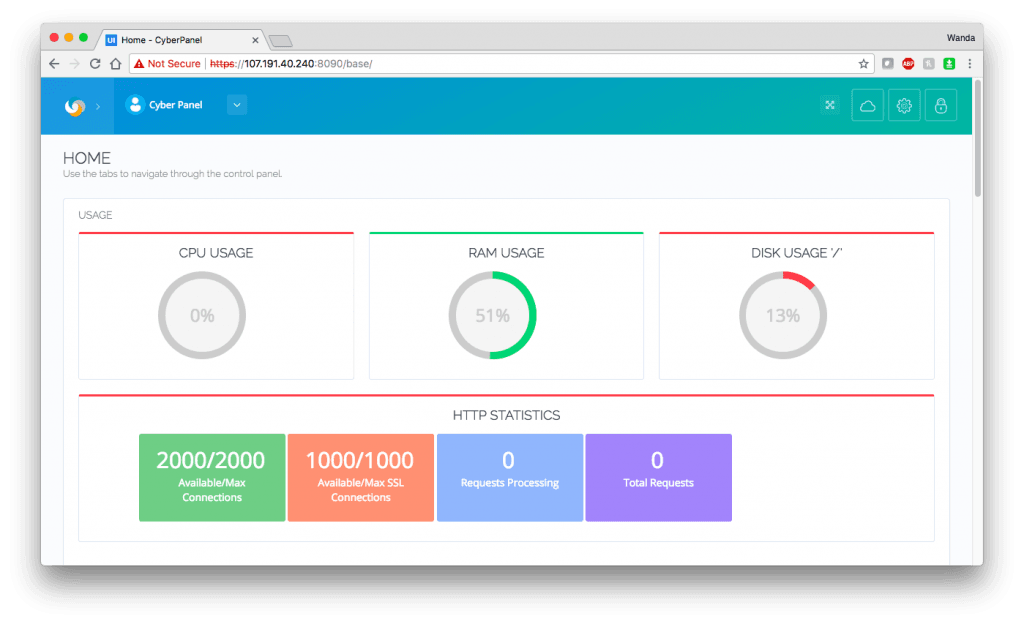
 The main page after logging displays a summary of real-time usage and HTTP Statistics.
 In addition to monitoring webserver’s status, CyberPanel also features website creation and even 1 click install wordpress with LiteSpeechCache. Here I will walk you through 1 click install wordpress with LSCache.
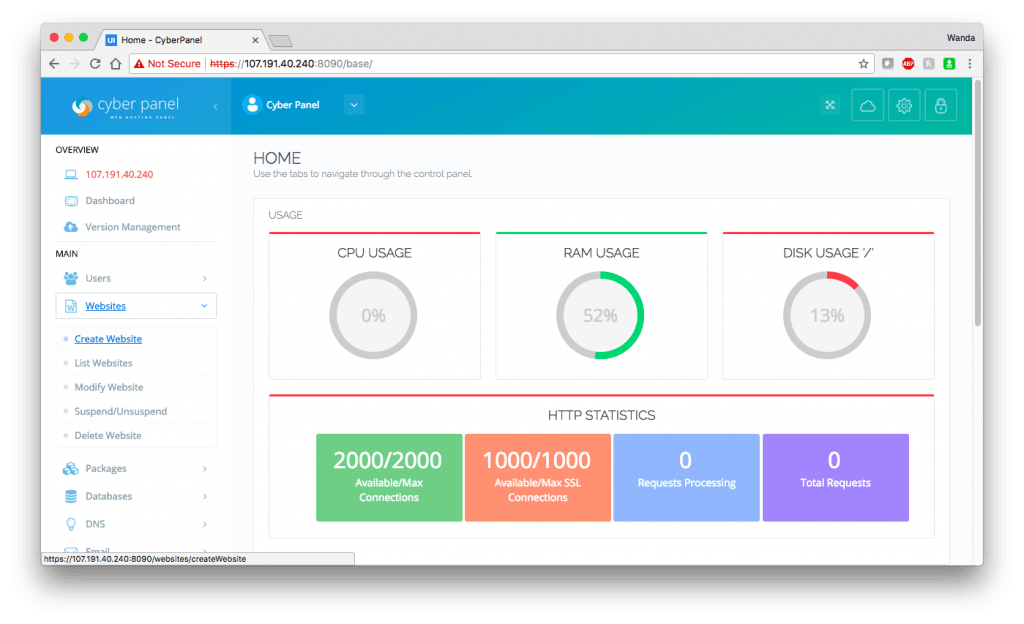
- Expand panel on the left and under ‘MAIN’ find ‘Websites’. Click ‘Create Website’
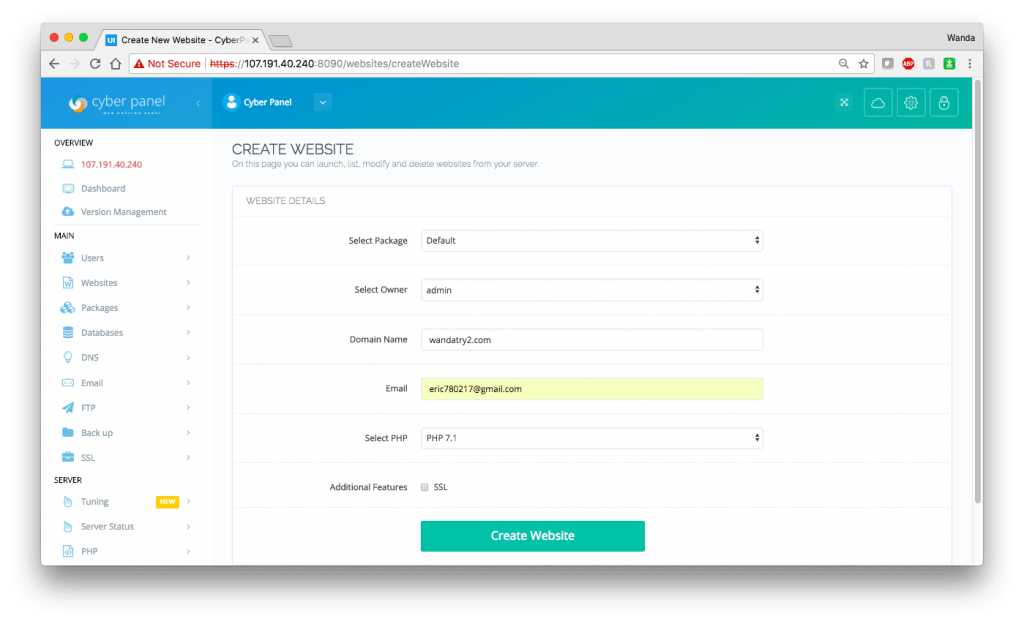
2. Select or enter fields in the website setting as the screenshot, but please note that in Domain Name,
you should not include ‘WWW.’, but have to follow the format “example.com”.
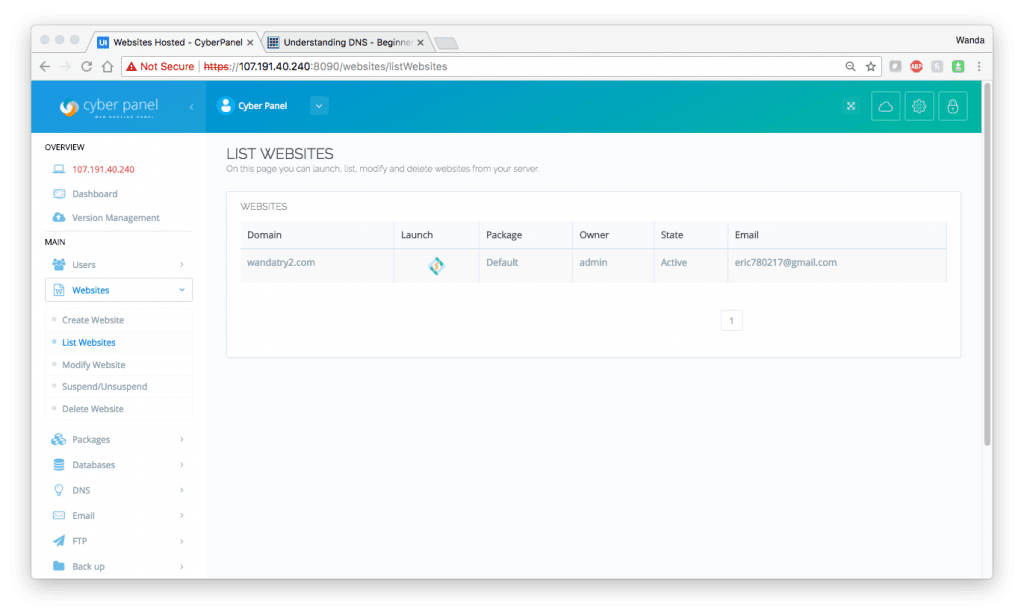
Once new website being created, go to ‘List Websites’.
Click the icon under ‘Launch’ to enter the website’s control panel.
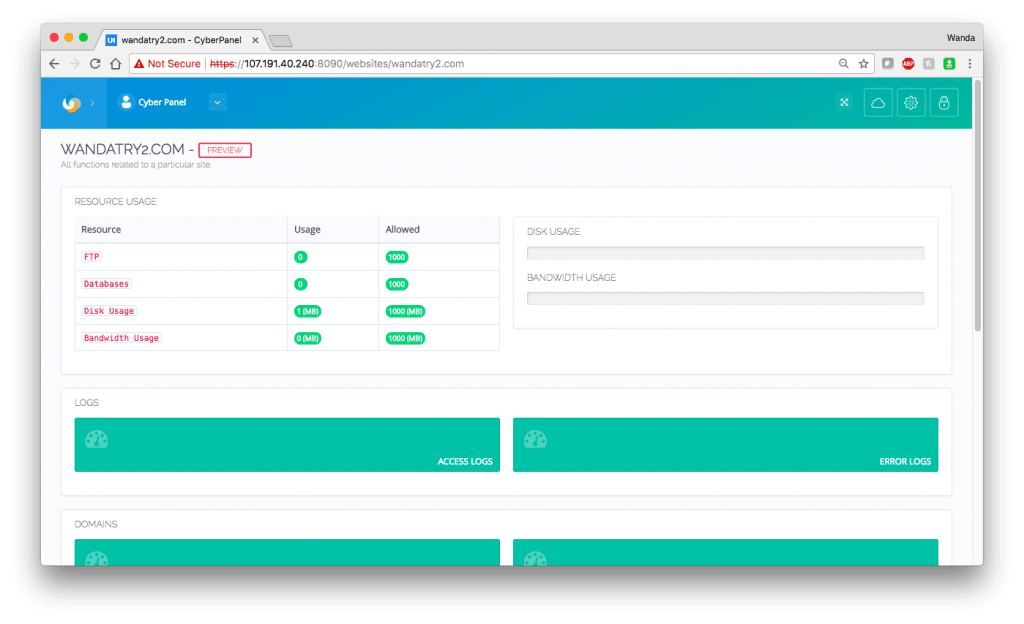
The created website’s control panel shows operation information regarding to this website.
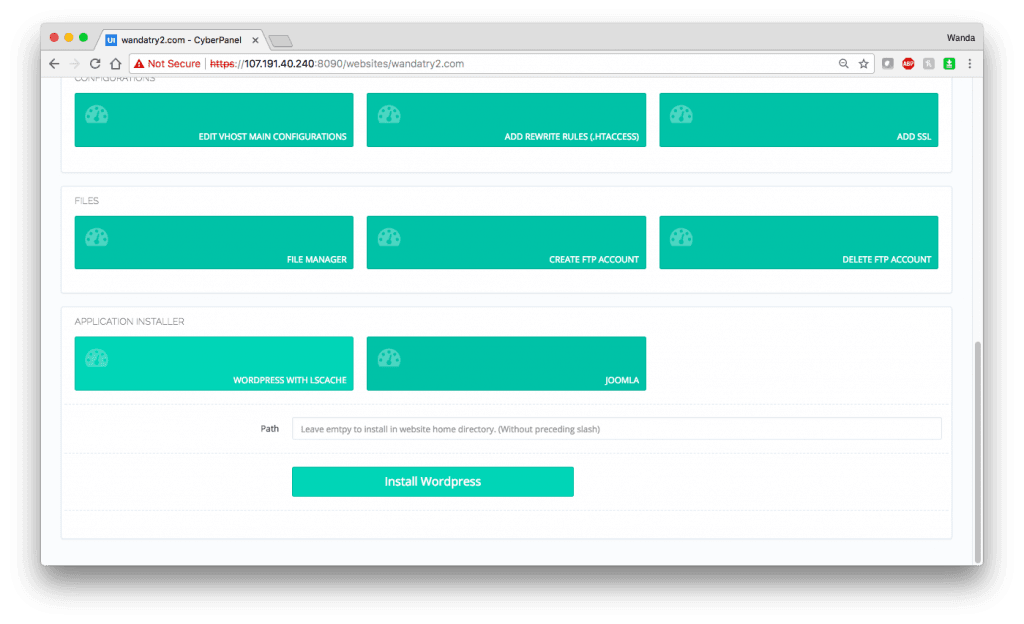
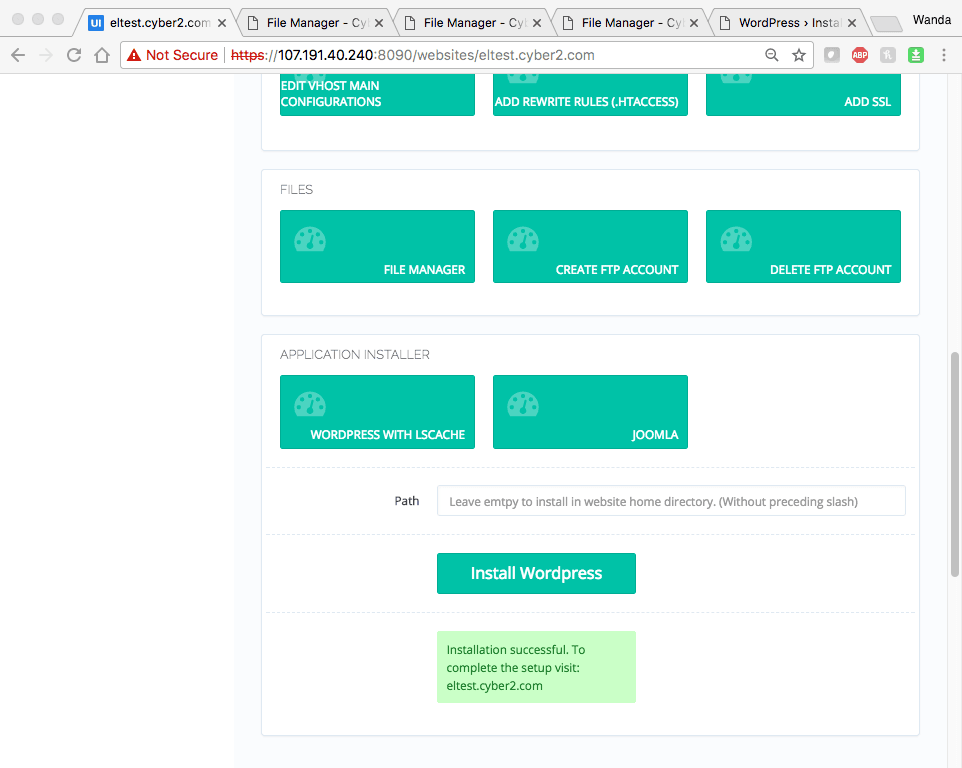
Scroll down and you will find “WORDPRESS WITH LSCACHE” under APPLICATION INSTALLER.
Click and you will be asked to decide ‘Path’ for Wordpress installation.
I will leave empty to use home directory, and click “Install Wordpress”.
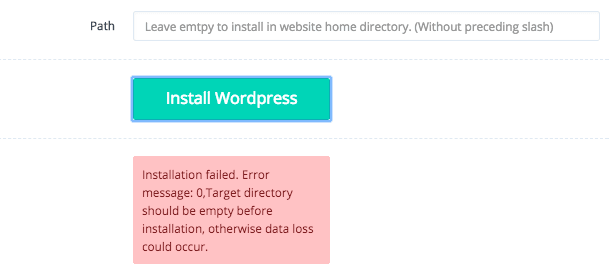
At first, you may get this error message if you forget to clean up the install directory.
That means the installation of Wordpress has failed and you need to go to FILE MANAGER to empty the folder.
‘FILE MANAGER’ should be just above APPLICATION INSTALLER. Click to enter, and you will see by default two folders have been created, and ‘public_html’ is the one we want to delete.

Once delete, the installation can be successfully completed. The message also indicates that the hostname is now available to complete the wordpress setup.
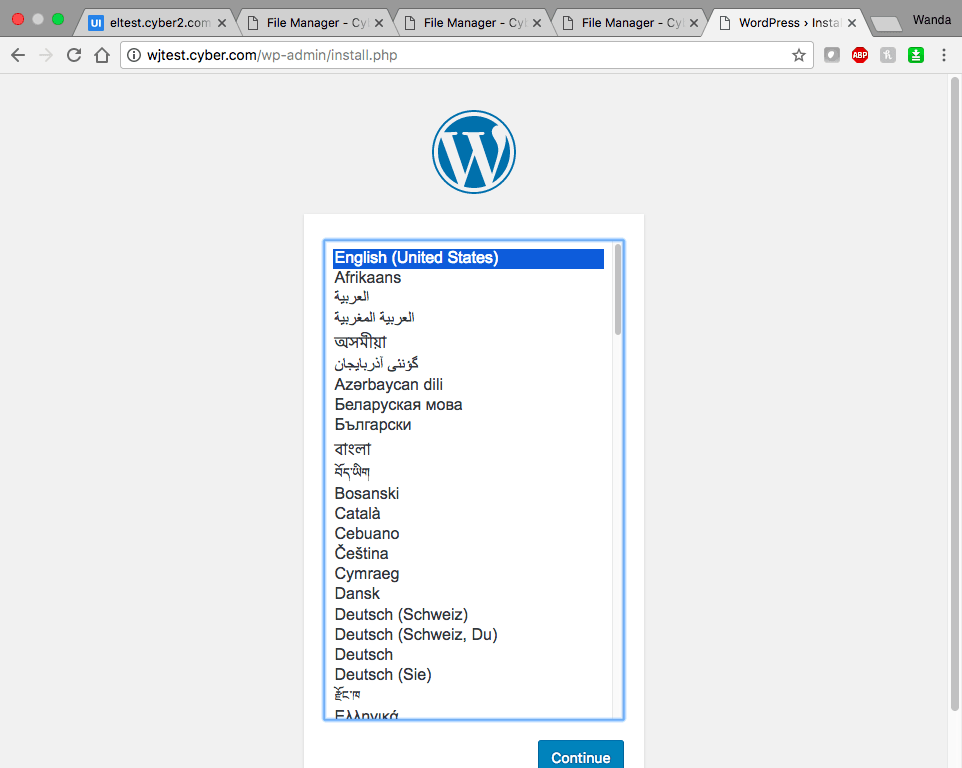
Entering the website hostname, for example, wjtest.cyber.com in the browser, and then you will be automatically redirected to wordpress setup.
That is it! You have used CyberPanel + LSCache to complete installation of webserver, OpenLiteSpeed, and Wordpress.
Very good job!
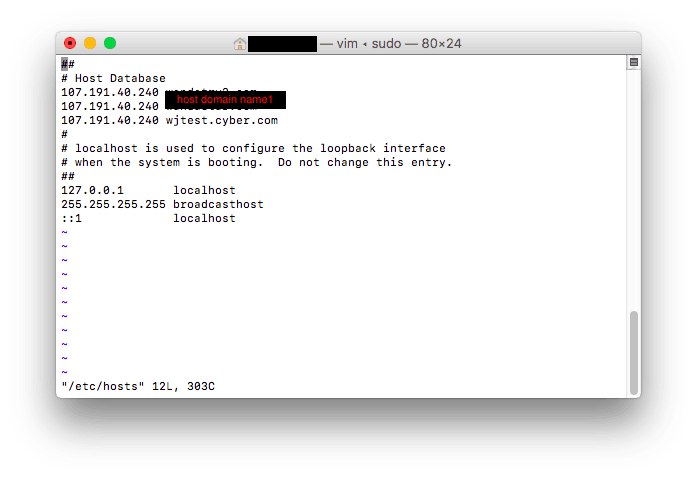
** TIPS ** Above walk through assume you have registered your host domain name in internet domain registrar, like GoDaddy, etc. But if you have not yet, and just want to play around with CyberPanel.
You will be faced with situation as below. Because even though you installed the webserver using the host domain name, that does not mean you really own the host domain name and nobody really recognize that host domain name.

But to test if the webserver really works, you can fool your computer to recognize that hostname and redirect that to your server IP address by adding [Server IP addr] [Host domain name] to /etc/hosts.
Leave a comment