Setup Magento2 Cache
跳步教學, 如何設定 Magento 2 + 樣品資料 + LiteMage Cache 環境: cPanel + LSWS + PHP7 + LiteMage + Magento 2.2 頁面載入時間 4.49s -> 15ms 頁面+網路延遲 載入時間 6.35s -> 1.64s
PHP
- Install necessarily extensions, e.g. php70-php-zip, php70-php-iconv, php70-php-intl, php70-php-mbstring, php70-php-soap
- 增加 php 延遲時間為 1800s(30分鐘)
mysql
設定 DB and granted Username + Password E.g. DB: magento2_magento2, User: magento2_user, Password: ****
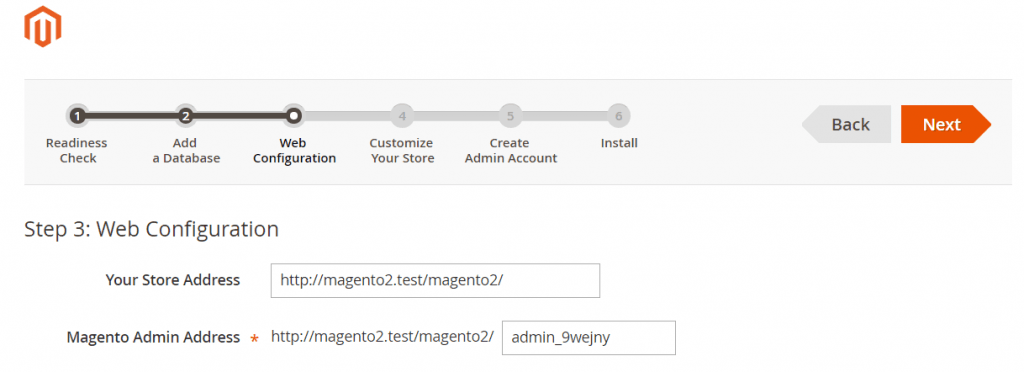
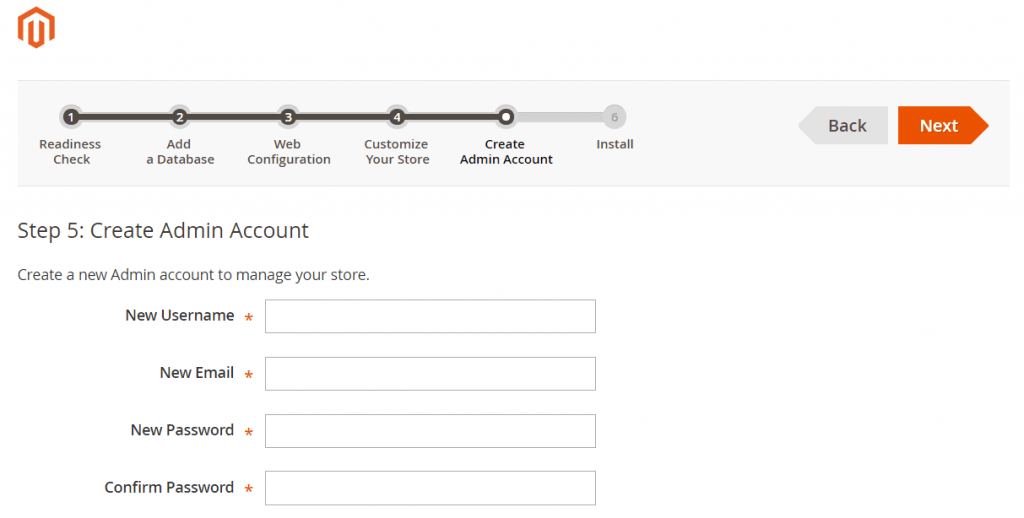
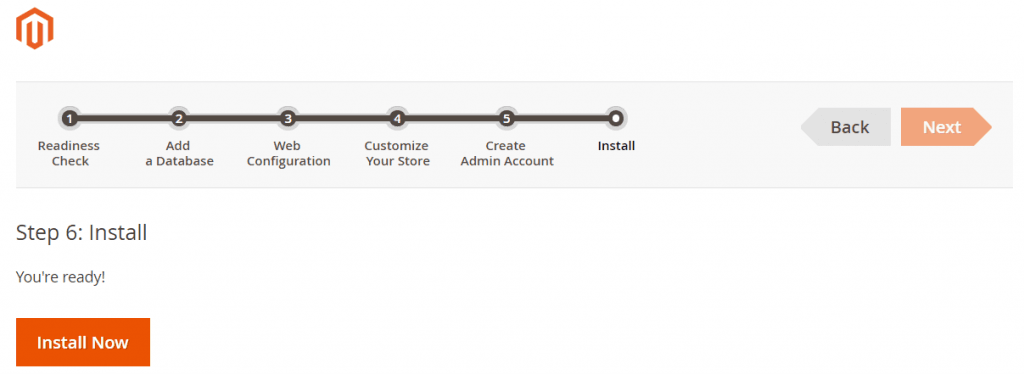
Magento2 安裝
- Download from here
- untar file magento-2-community-sample-data-master.tar.gz
- Move magento-2-community-sample-data-master folder to magento2

LiteMage Cache Setup
SSH 進入 server, 執行下列命令安裝 LiteMage Cache plugin
php bin/magento deploy:mode:set developer
wget https://github.com/litespeedtech/magento2-LiteSpeed_LiteMage/archive/master.zip
mkdir -p app/code/Litespeed/Litemage
mv /path/to/magento2-LiteSpeed_LiteMage-master/* app/code/Litespeed/Litemage/
php bin/magento module:enable Litespeed_Litemage
php bin/magento deploy:mode:set production
echo "LiteMage on" >> .htaccess
UI 進入後台使 Cache 運行
In Store > Configuration > Advanced > System, make sure LiteMage is enabled and selected under the “Full Page Cache” setting 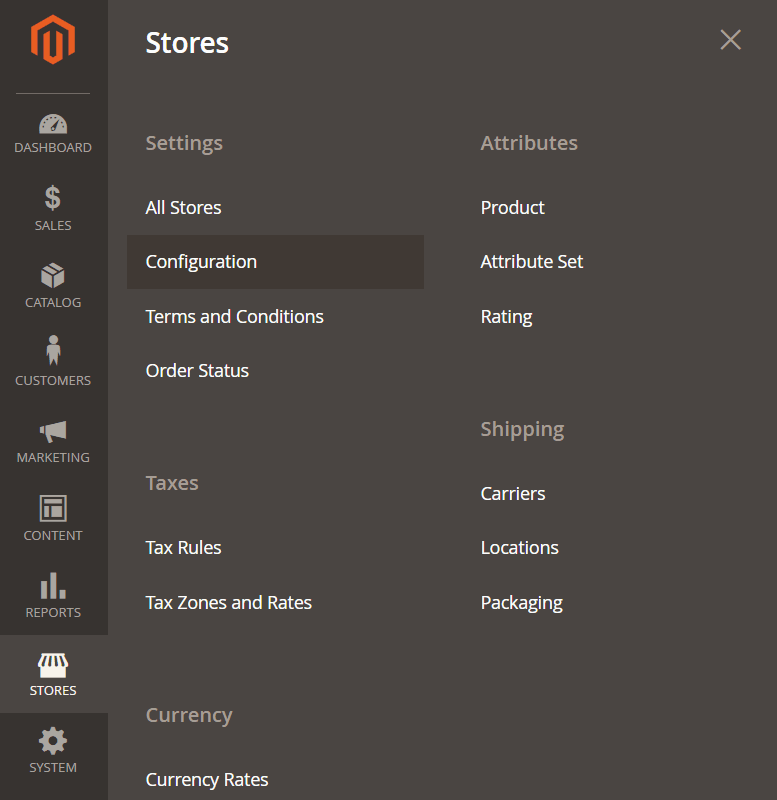
 Refresh “Configuration” 和 “Page Cache” 再點選 Submit
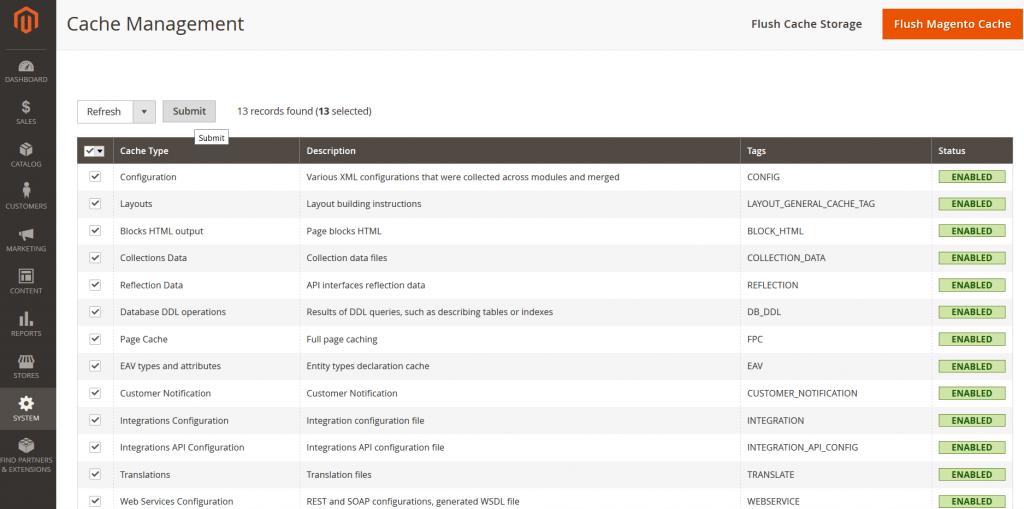
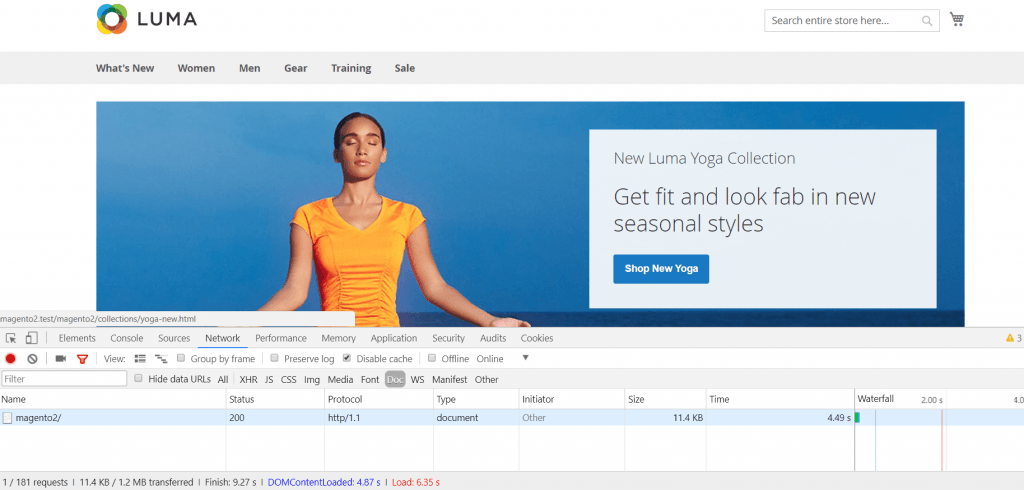
驗證
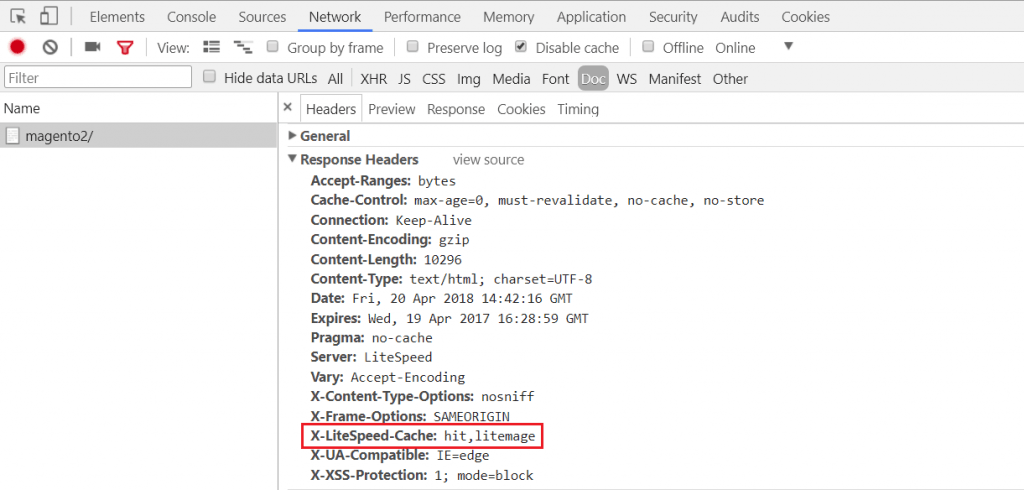
To ensure that LiteMage is working correctly, visit a page that should be cache enabled and open your browser’s inspector by right clicking the page and selecting “inspect”. Then select the “Network” tab and refresh the page. Under “Headers”, check the response header for the following LiteMage related info. 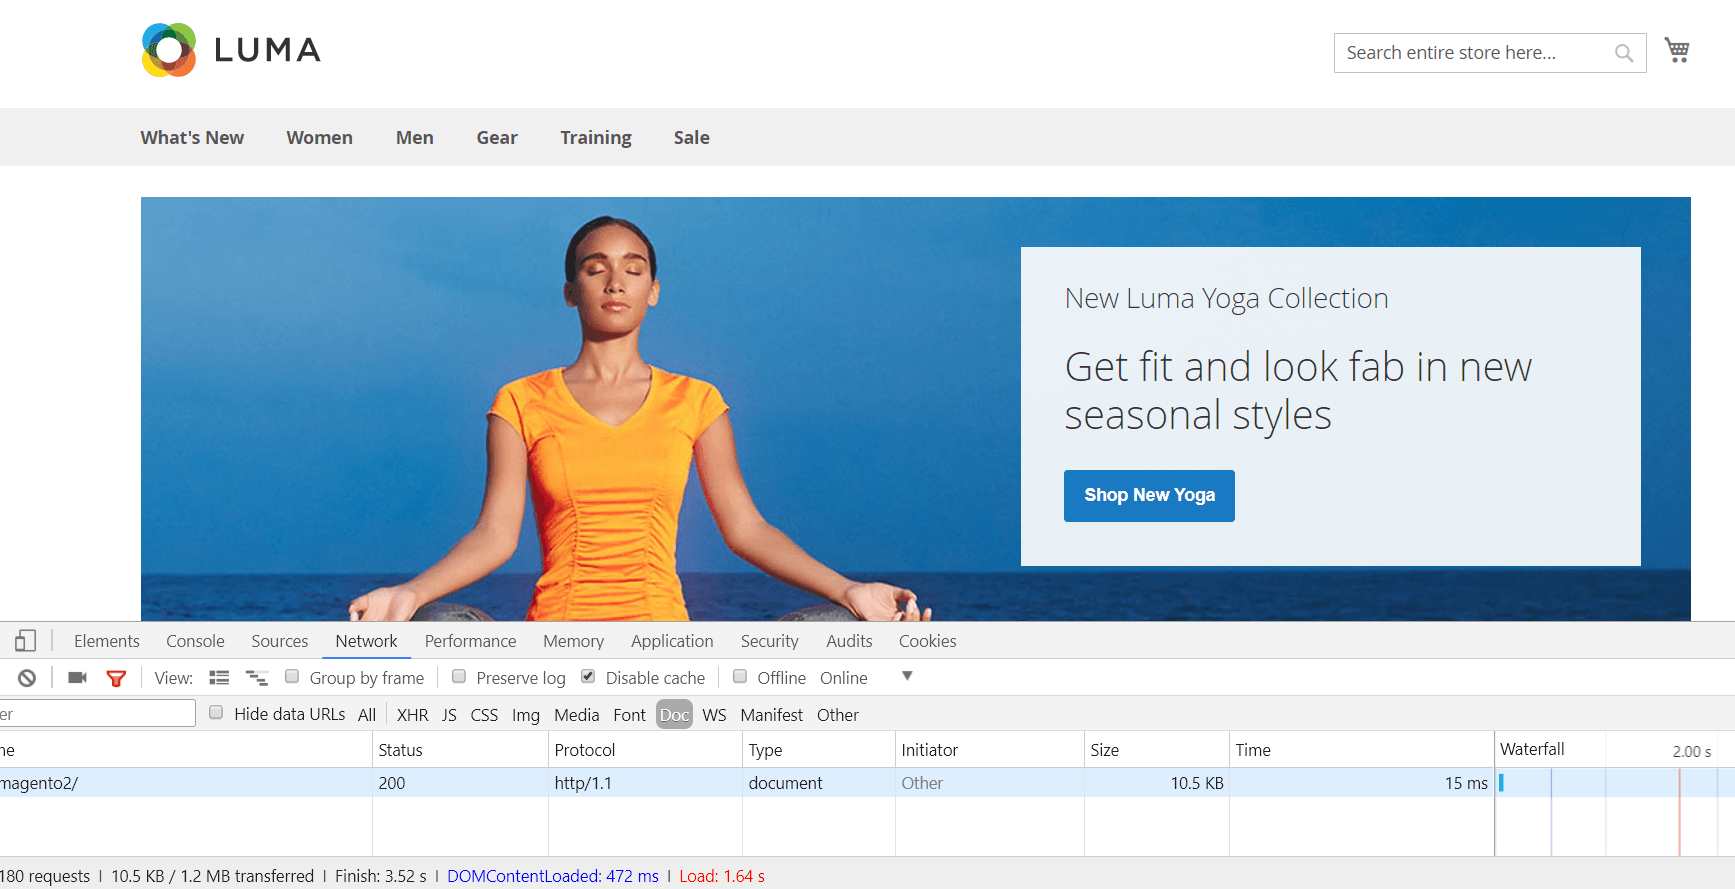
X-LiteSpeed-Cache: hit,litemage
 Initial time 4.49s -> 15ms
Page Load time 6.35s -> 1.64s
Initial time 4.49s -> 15ms
Page Load time 6.35s -> 1.64s
Debug
後臺位置
- php bin/magento info:adminuri
DB 設定資訊
- /app/etc/env.php
Leave a comment